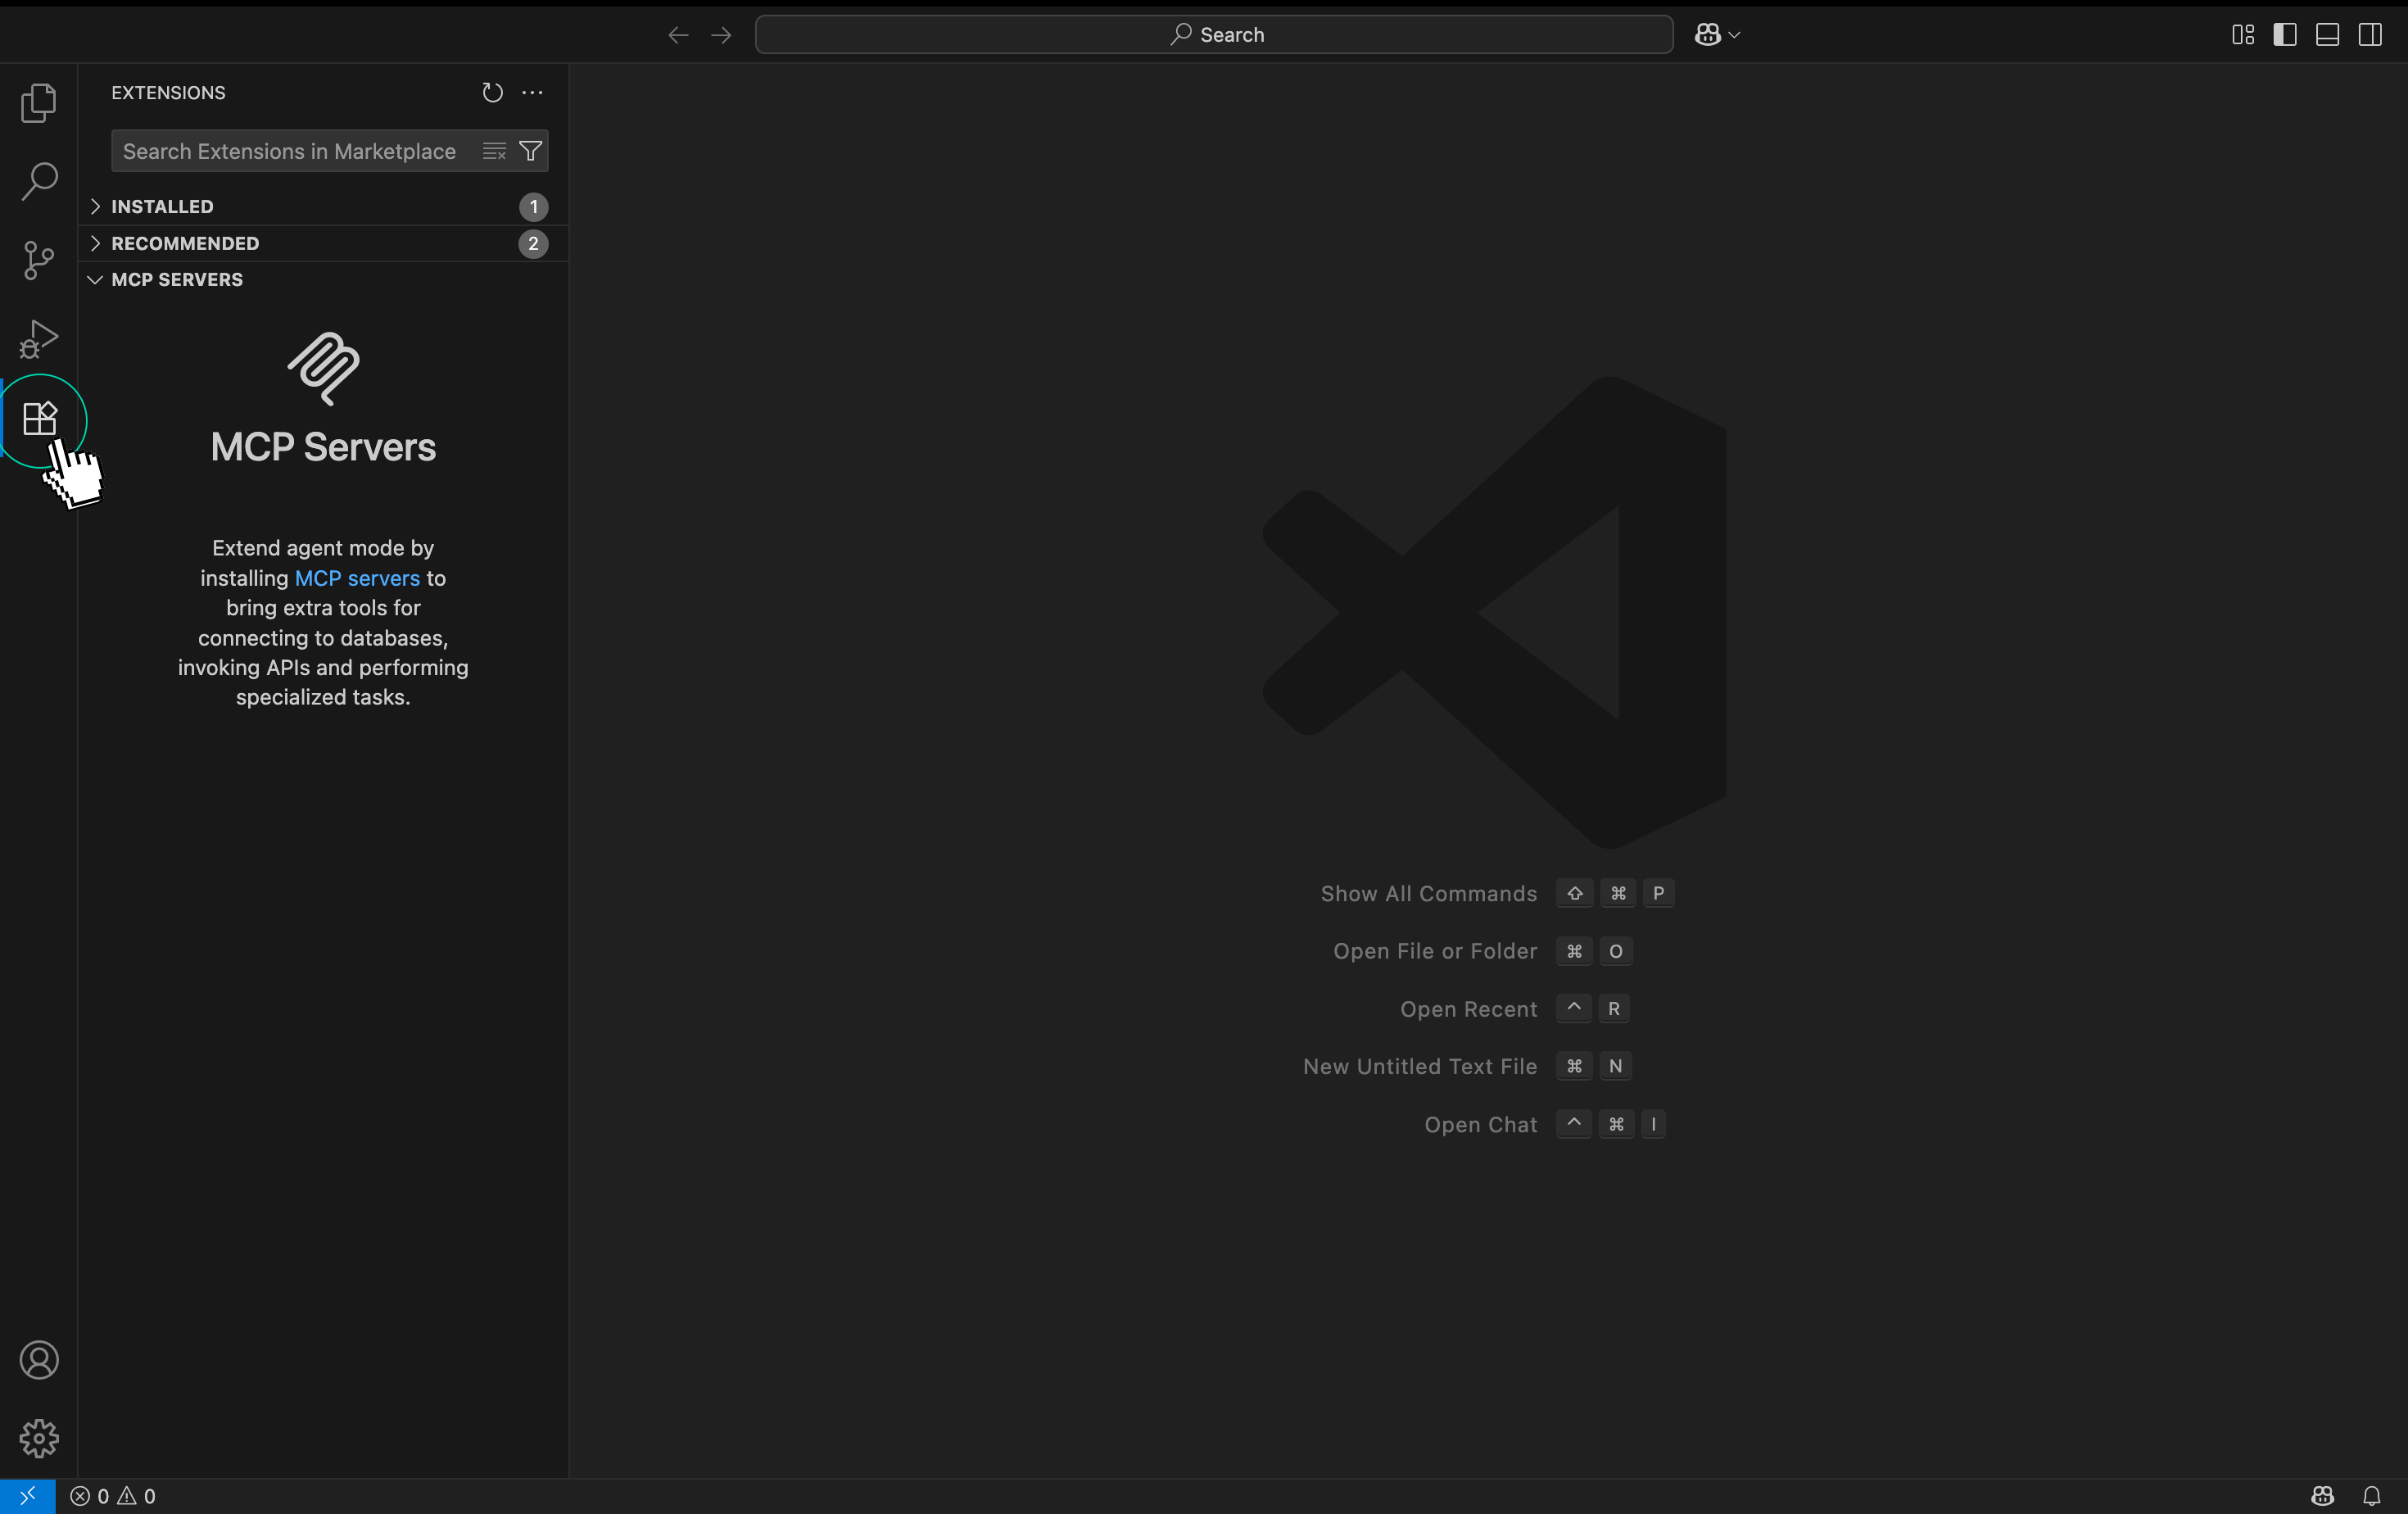
Launch Visual Studio Code and click on the Extensions icon in
the sidebar
(or press Ctrl+Shift+X to open it quickly).
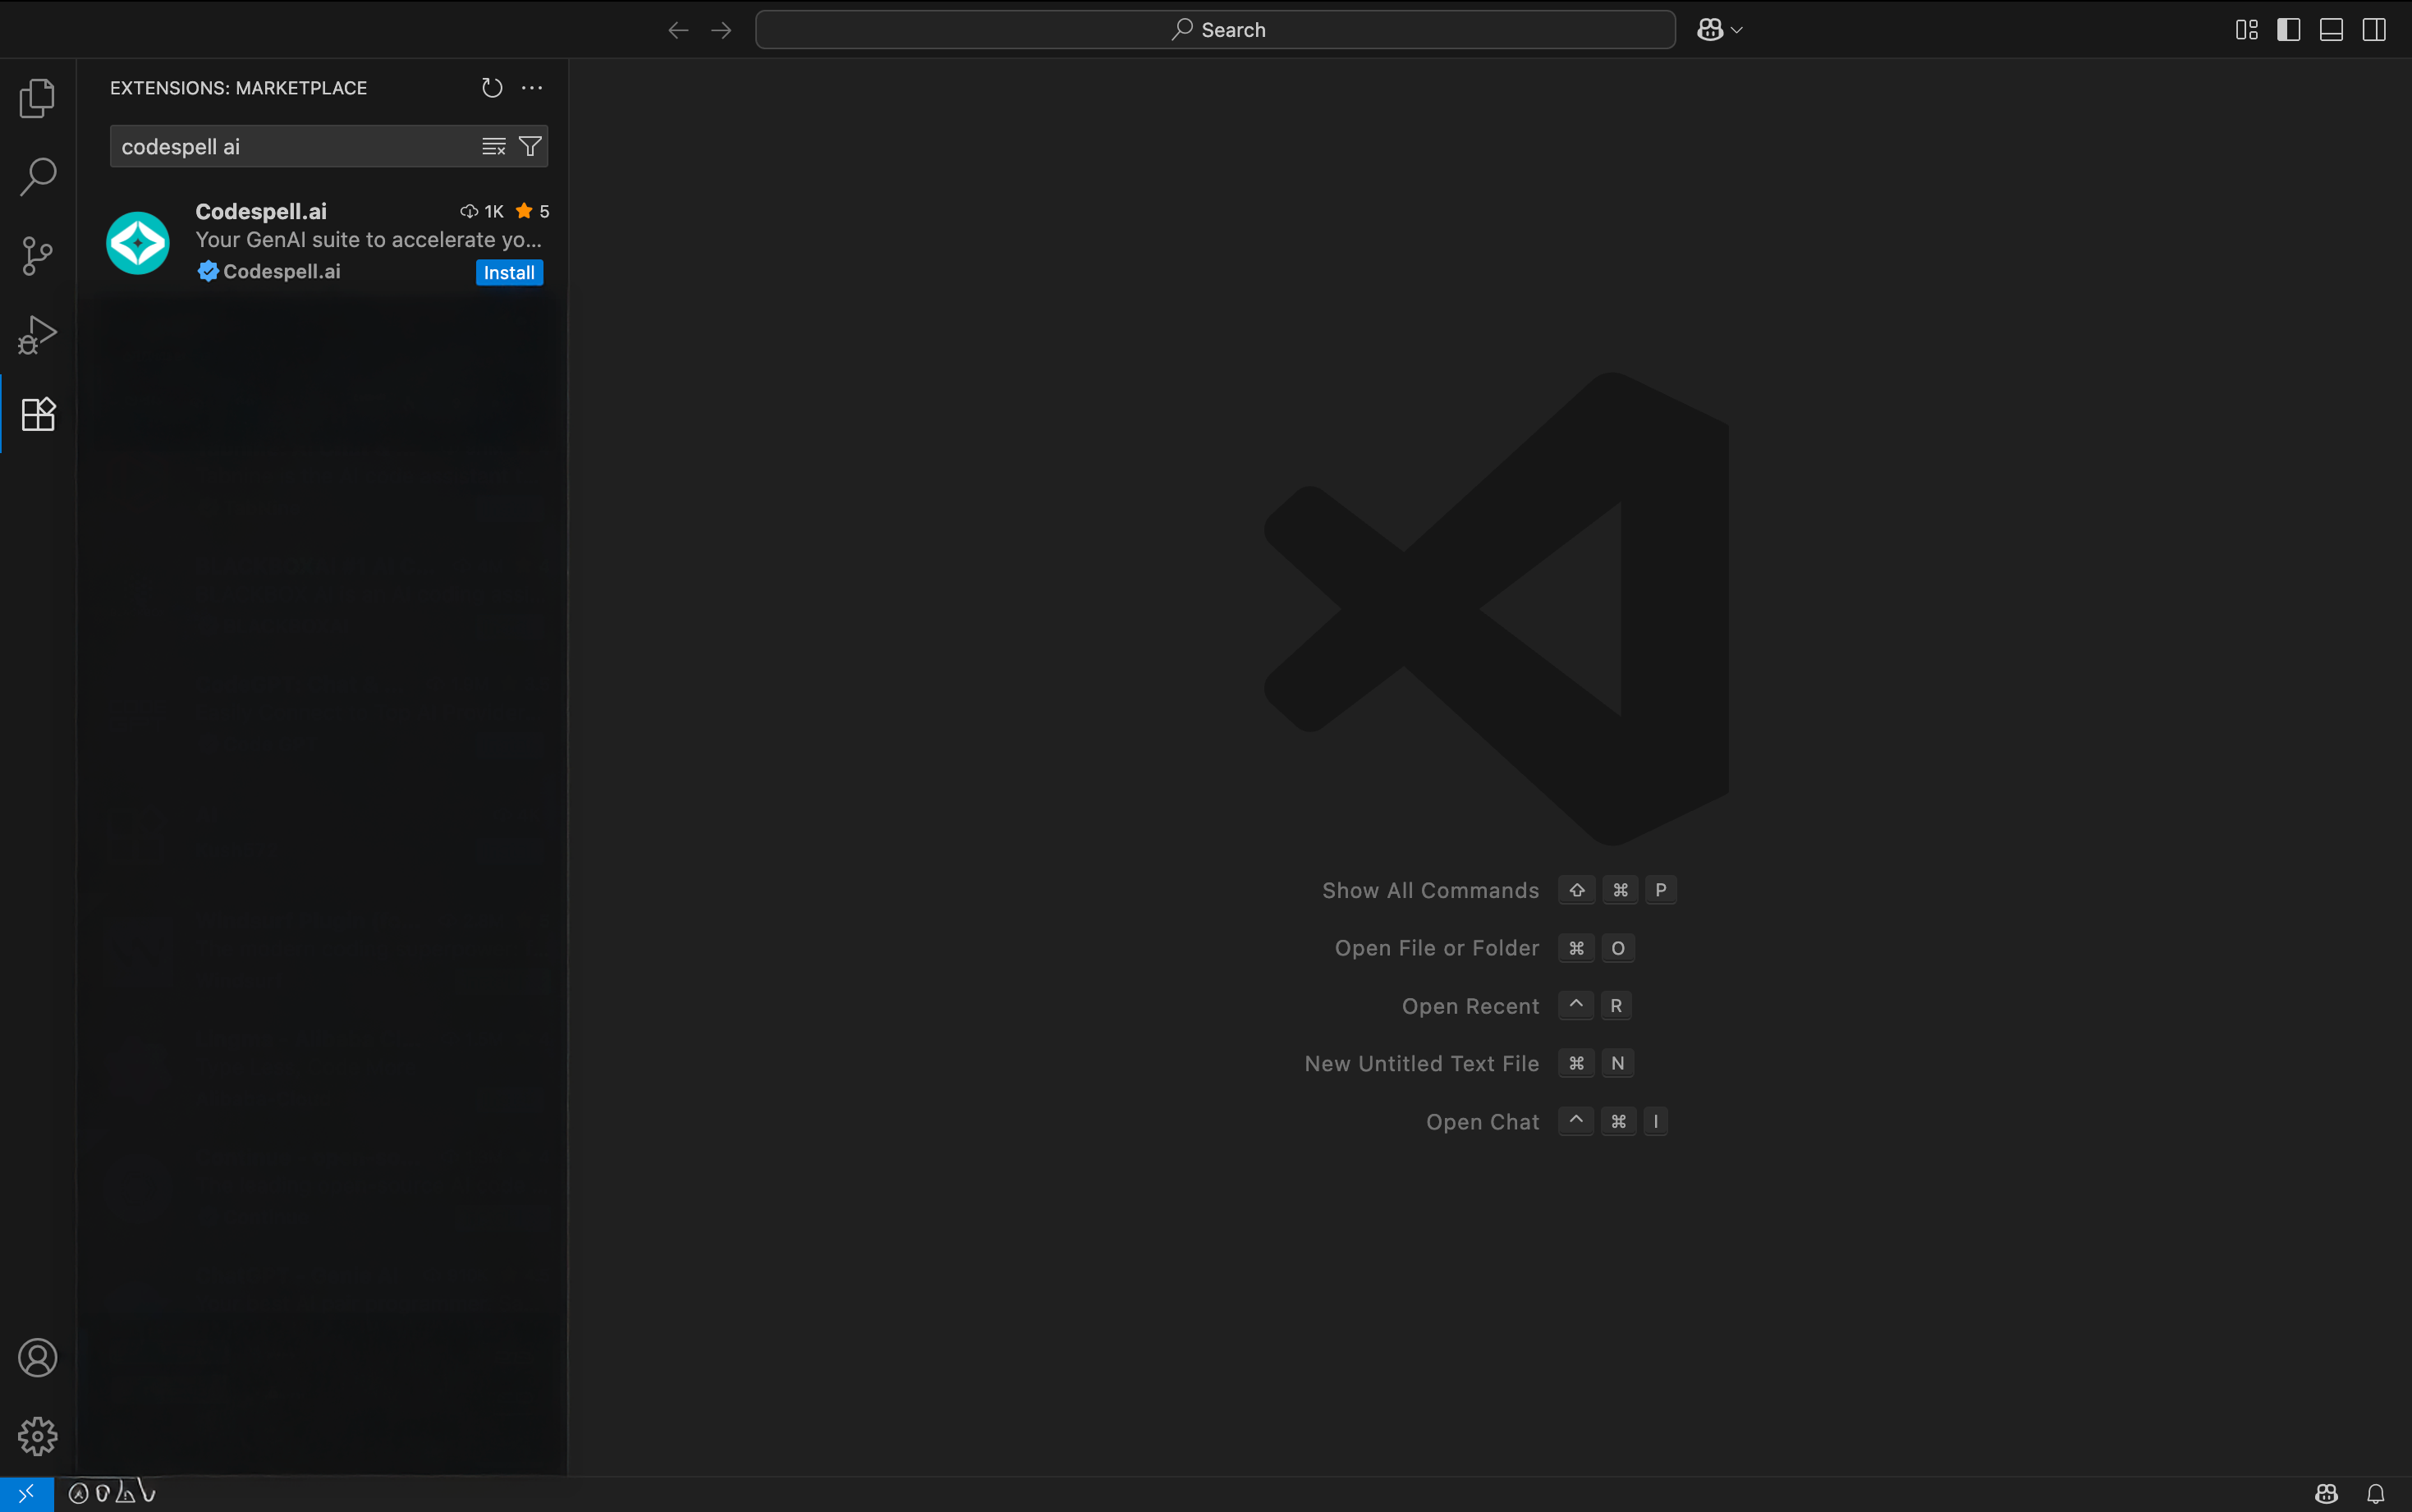
In the search bar, type “Codespell AI” and look for the official extension published
by Codespell.ai.
Click Install to add it to your editor.
Once the extension is installed, click on the Codespell icon in the sidebar to open it.
Click Continue when prompted.
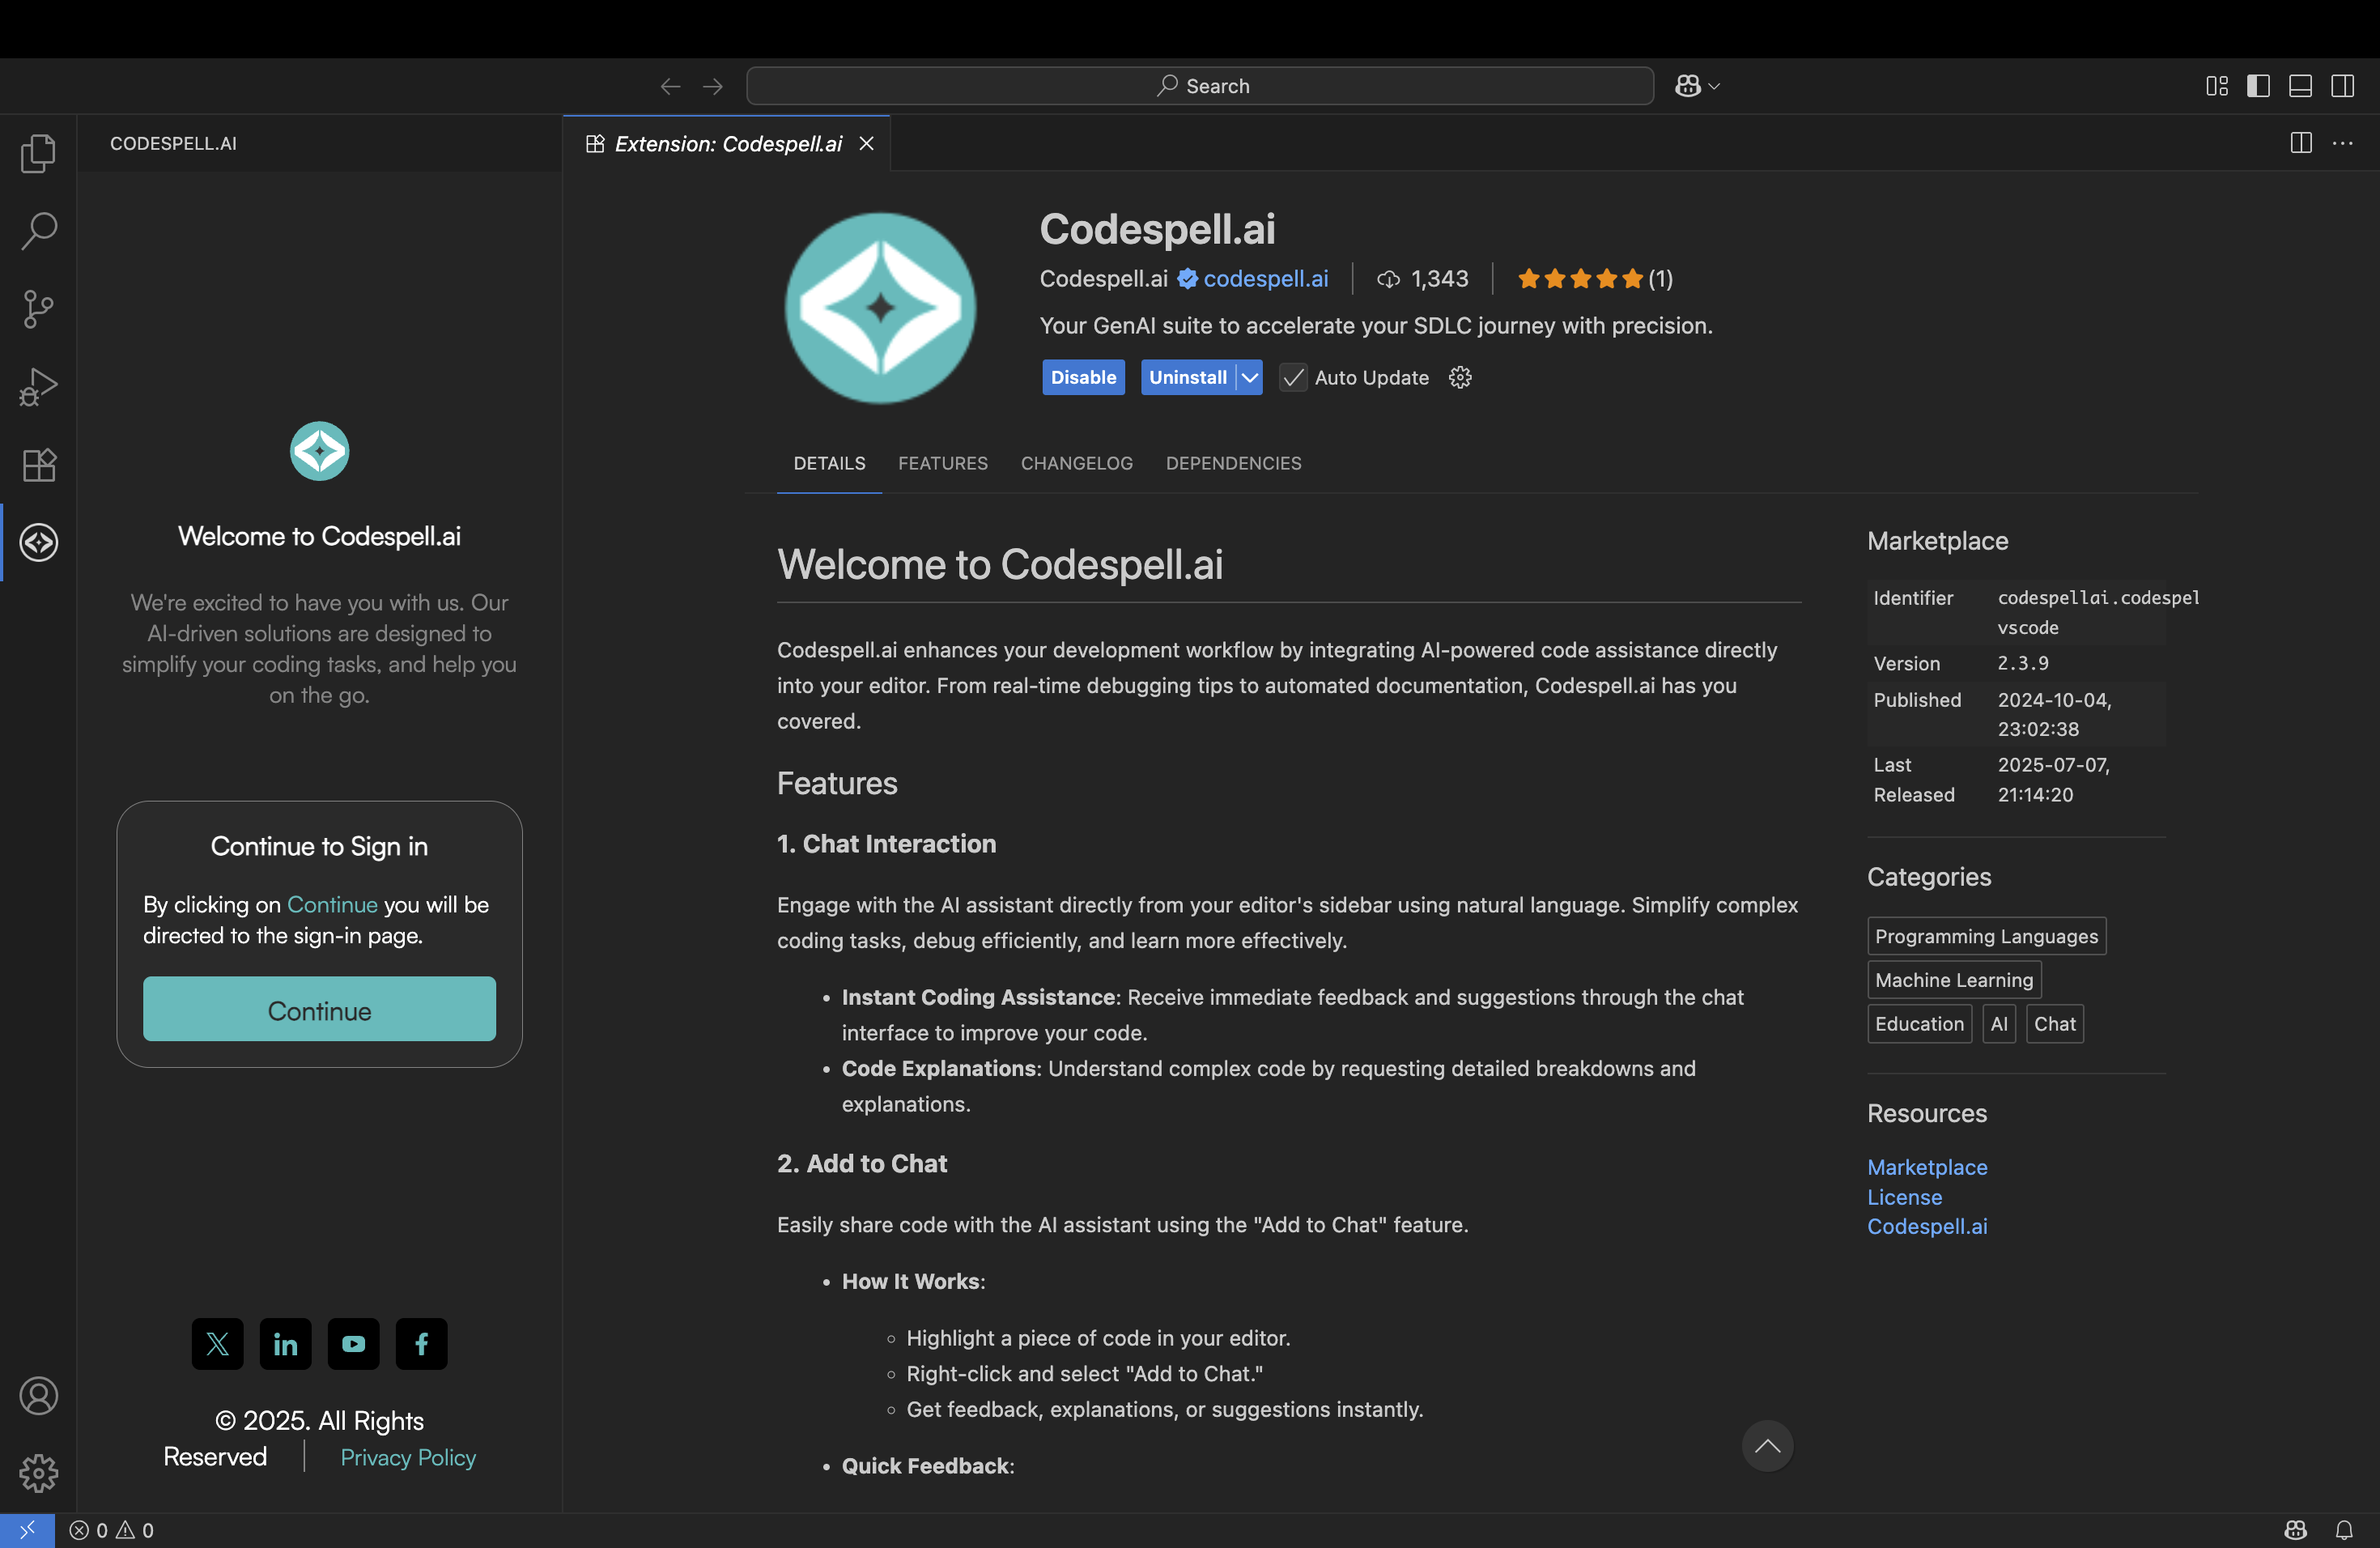
A browser window will open for authentication.
Sign in using your credentials (or sign up for a free trial), and you’ll be automatically redirected back to
VS Code once login is successful.

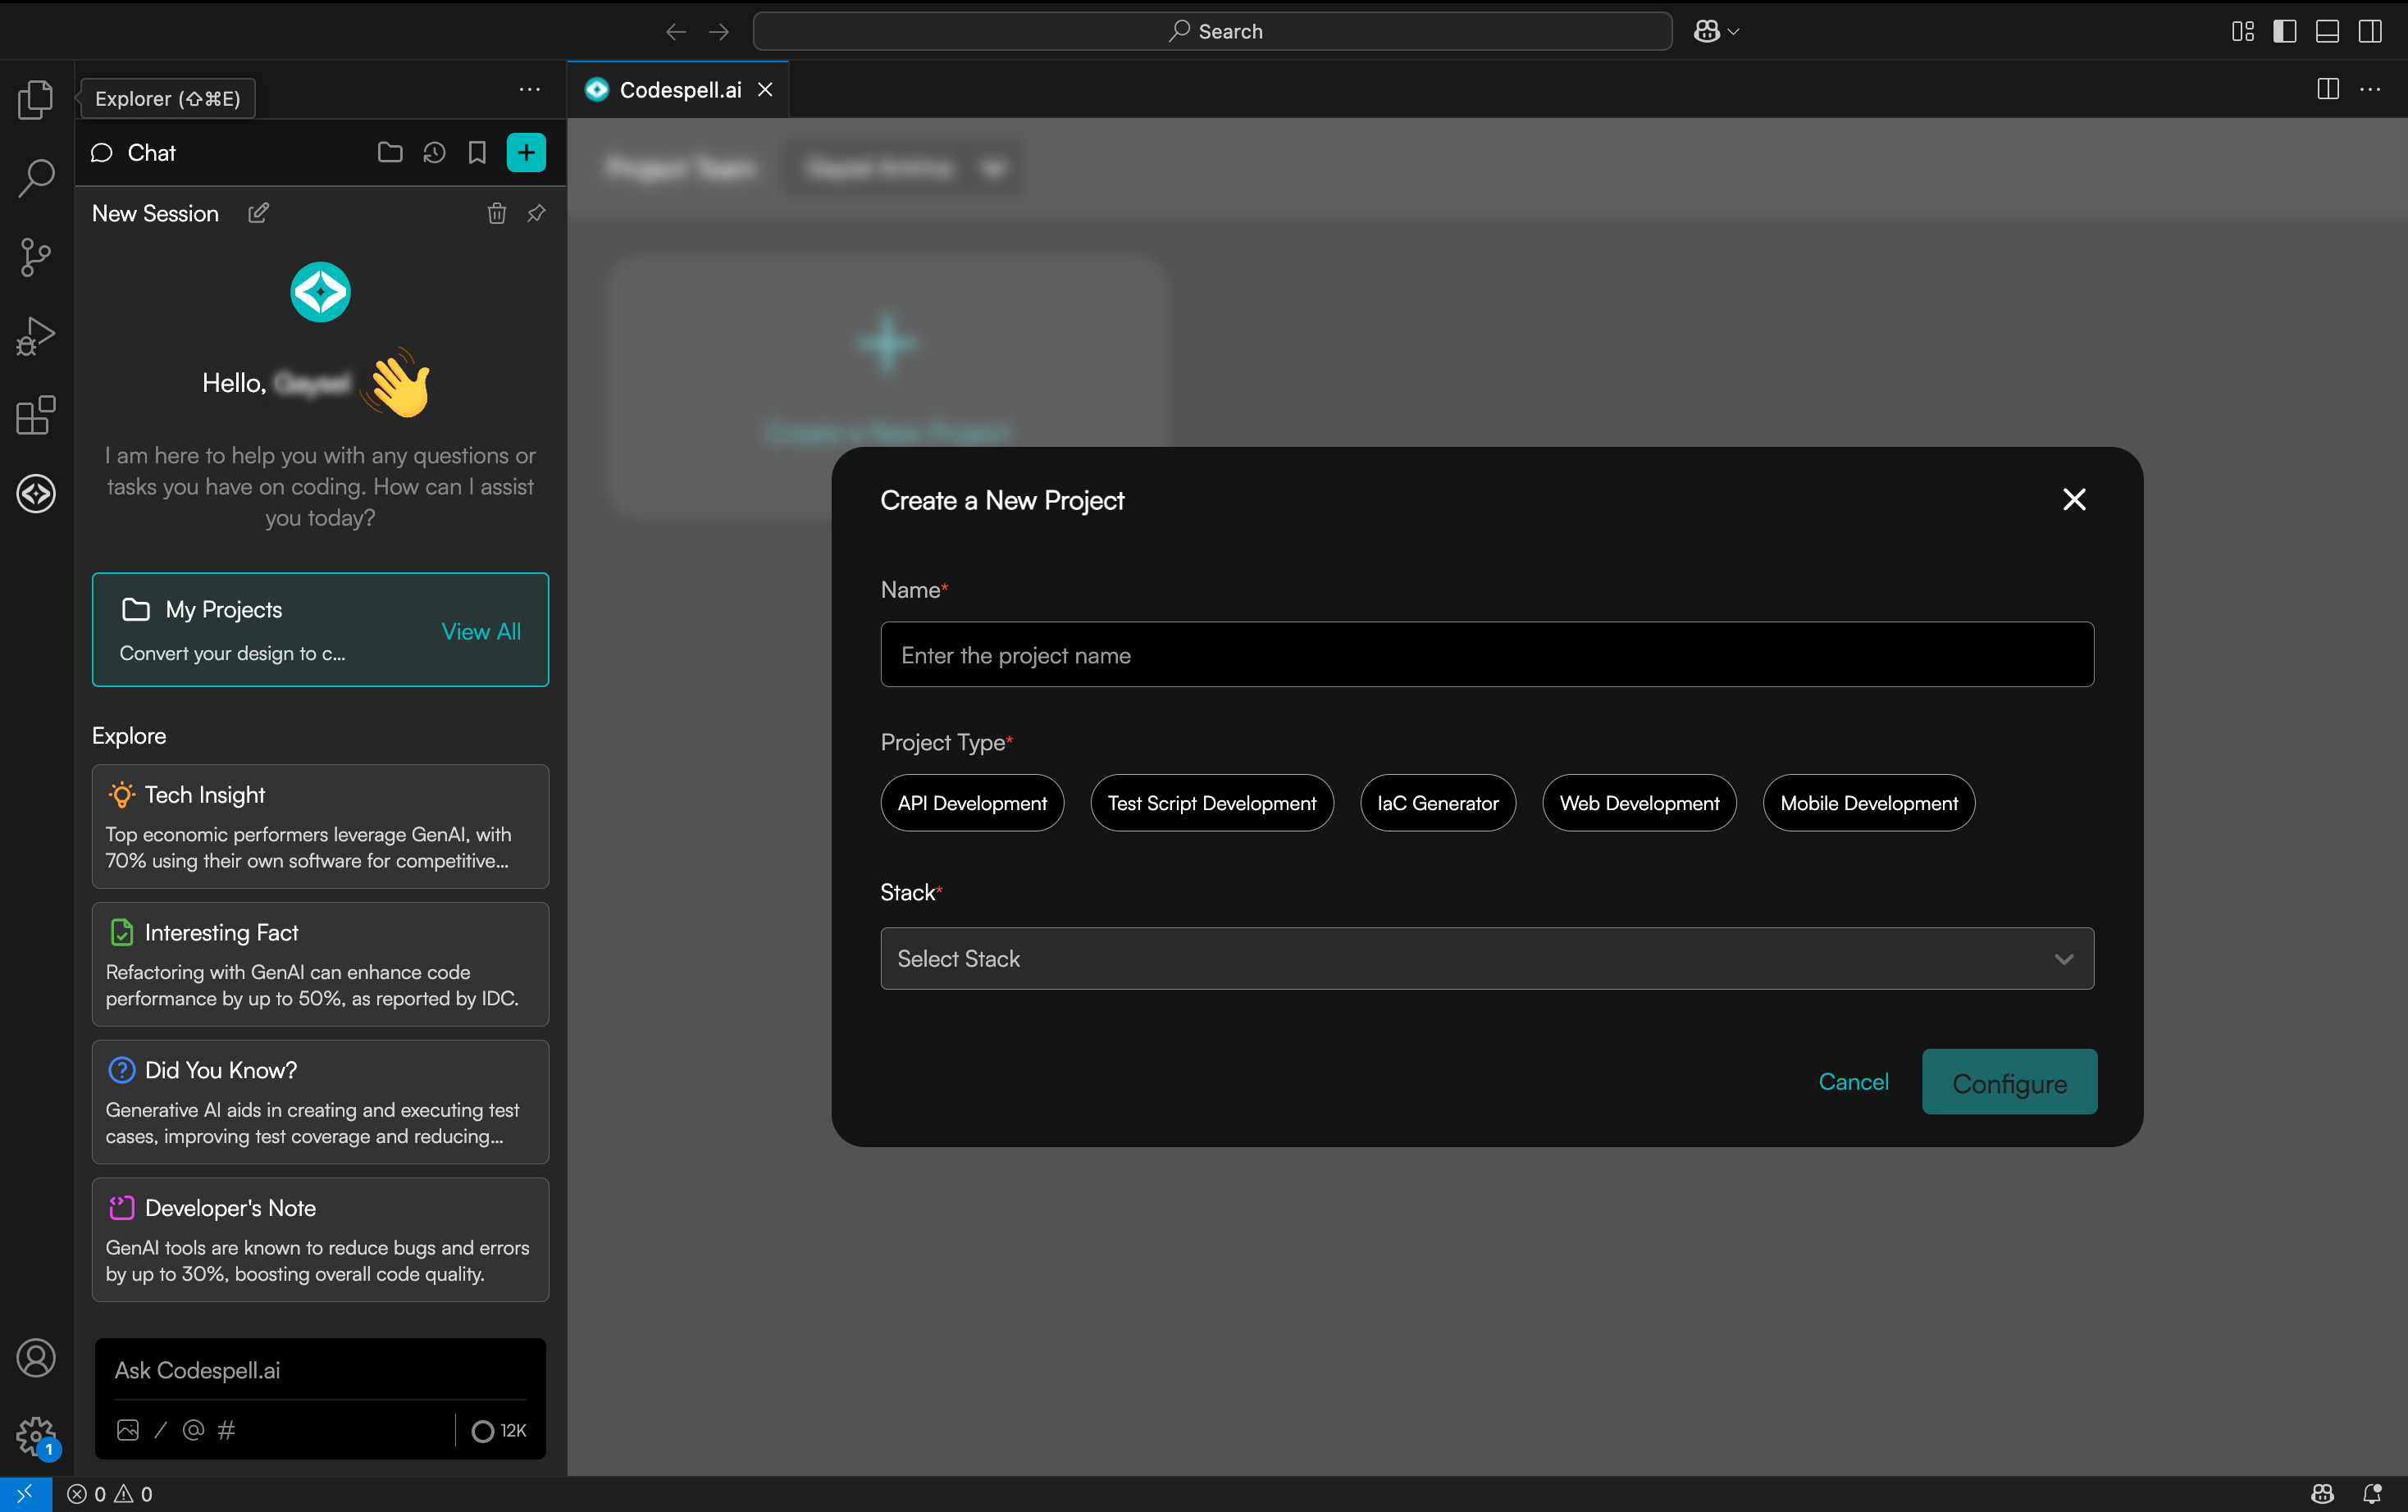
Once you're back in the editor, open the Design Studio to generate full project scaffolds starting from CRUD APIs and test scripts to infrastructure code, all tailored to your tech stack.
Just define your schema or upload a spec and let Codespell handle the rest. And if you're mid-flow,
inline spells like Explain, Docstring, and Optimize are always one hover or Alt + G away.
© 2026, CodeSpell.ai. All Rights Reserved


